Secure Your Dockerized Nginx with Let's Encrypt SSL Certificates

Photo by Animesh Srivastava from Pexels.
In this tutorial I will demonstrate how to secure Nginx on Docker using HTTPS, leveraging free certificates from Let’s Encrypt. Let’s Encrypt certificates provide trusted and secure encryption at no cost, although they require renewal every 90 days. Fortunately, this renewal process can be automated with various tools. We will use acme.sh, a versatile Bash script compatible with major platforms. The tutorial will guide you through obtaining Let’s Encrypt certificates on the host system and mounting them as a volume in the Nginx container. Please ensure the following prerequisites are met before proceeding:
- Working Docker Engine
- Working domain name
- A host with ports 80 and 443 that is accessible from the internet
1. Domain validation
First, we need an Nginx instance on Docker that will expose port 80 and have a directory on the host mounted for its web root. This is required by acme.sh for its file-based domain validation. I’ve prepared a Docker Compose file (docker-compose.yml) and an Nginx configuration file (nginx.conf) for this purpose. Git clone the following repository and change into the directory
git clone https://github.com/aburayyanjeffry/nginx-docker-acme.git
cd nginx-docker-acme
In nginx.conf, please note that the lines exposing port 443 and adding SSL certificates are commented because we don’t have the certificate yet. Listening on port 444 and trying to enable SSL without a valid certificate will cause errors and prevent Nginx from starting up. Port 443 is also commented out in docker-compose.yml because Nginx is not exposing port 443 yet, as is the line copying the ssh folder. Let’s start Nginx using Docker Compose:
docker compose up -d2. Get the acme.sh
The following command will install acme.sh in the current user’s home directory. Make sure to use your email in the command.
curl https://get.acme.sh | sh -s email=jeffry@email.comLog out and log in again to enable the acme.sh alias for the user. If acme.sh is not working, it’s probably because you missed this step. If the alias is not enabled, the acme.sh script is not defined.
3. Set the CA
Set Let’s Encrypt as the default Certificate Authority.
acme.sh --set-default-ca --server letsencrypt4. Issue the certificate
Now we’ll proceed with issuing the certificate, a step that involves domain validation. Upon successful validation, the certificate will be issued.
acme.sh --issue -d jeffry.temphost.net -w /home/jeffry/nginx-docker-acme/nginx/html --keylength 4096Make sure to replace jeffry.temphost.net with your domain and /home/jeffry/nginx-docker-acme/nginx/html with your web root directory. Note that /home/jeffry is the directory where the code was downloaded, making it the working directory. Be sure to update it to reflect your own working directory.
The -d flag specifies the domain, while -w designates the web root directory. This directory will be mounted as Nginx’s web root in Docker, where acme.sh will write the validation file.
We need to know the container name in order to restart it. The container name is the string in the last column from the docker ps output. In this example the container name is nginx-docker-acme-web-1.
[jeffry@docker ~]$ docker ps
CONTAINER ID   IMAGE     COMMAND                  CREATED          STATUS          PORTS                               NAMES
754c055d5b5e   nginx     "/docker-entrypoint...."   16 minutes ago   Up 16 minutes   0.0.0.0:80->80/tcp, :::80->80/tcp   nginx-docker-acme-web-1
5. Install the certificate
Uncomment the port 443 and SSL lines in nginx.conf and docker-compose.yaml. This will enable port 443 for Nginx and will make Docker expose it to the host after a restart it through Docker Compose later.
docker-compose.yaml
services:
  web:
    image: nginx
    ports:
      - "80:80"
      - "443:443"
    volumes:
      - ./nginx/nginx.conf:/etc/nginx/conf.d/default.conf
      - ./nginx/html:/usr/share/nginx/html
      - ./nginx/ssl:/etc/nginx/ssl
nginx/nginx.conf
server {
    listen 80;
    listen 443 ssl;

    server_name localhost;

    ssl_certificate /etc/nginx/ssl/cert.pem;
    ssl_certificate_key /etc/nginx/ssl/key.pem;

    location / {
        root /usr/share/nginx/html;
        index index.html;
    }
}
Create the ssl directory for Nginx and install the certificates there. This directory will be mounted by Nginx in Docker. Use the container name obtained from the previous steps as the value for the --reloadcmd switch. This is crucial because it will be used to restart Nginx when certificates are updated.
mkdir /home/jeffry/nginx-docker-acme/nginx/ssl
acme.sh --install-cert -d jeffry.temphost.net --key-file /home/jeffry/nginx-docker-acme/nginx/ssl/key.pem --fullchain-file /home/jeffry/nginx-docker-acme/nginx/ssl/cert.pem --reloadcmd "docker exec nginx-docker-acme-web-1 nginx -s reload"
6. Restart the Nginx container
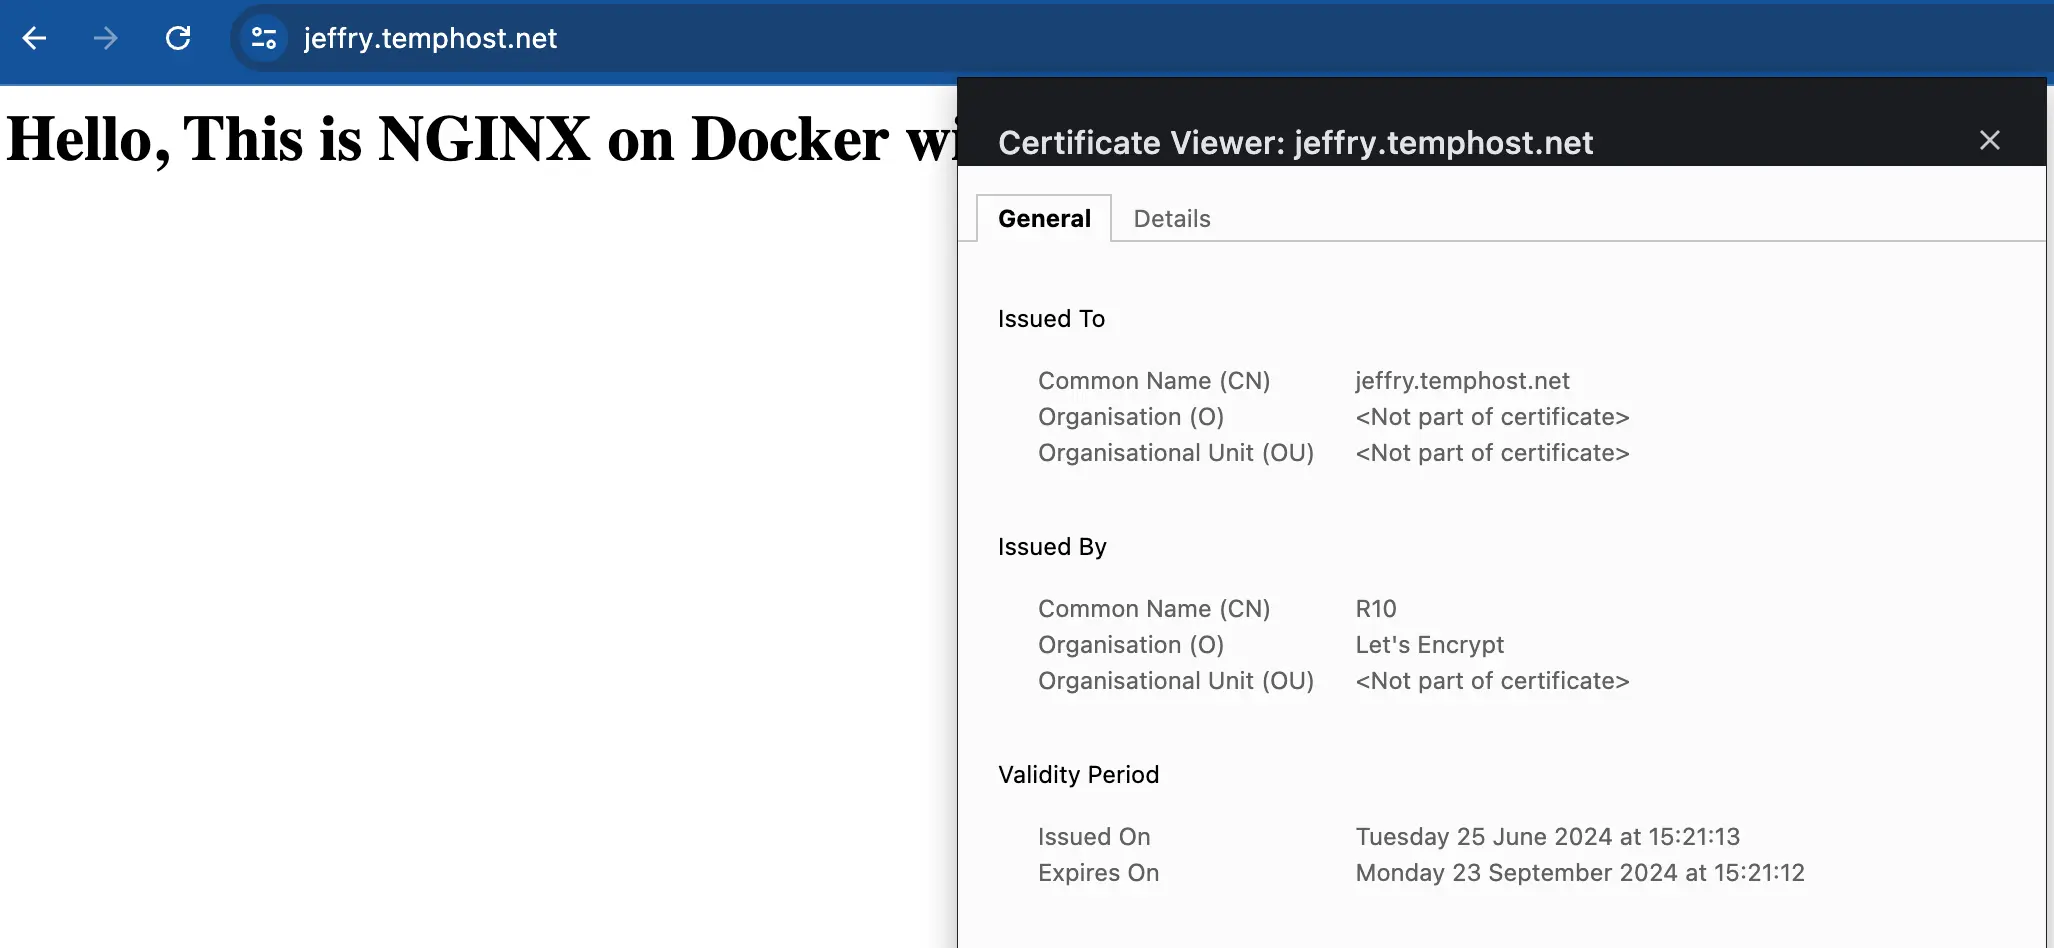
Refresh the Nginx container by stopping and starting it from Docker Compose. You should be able to access Nginx over HTTPS with the Let’s Encrypt certificates.
docker compose down
docker compose up -d
7. Certificate Renewal Mechanism
The certificate will be automatically renewed by the cron job which was installed by acme.sh. You can verify the cron job by running crontab -l .
[jeffry@docker ~]$ crontab -l
13 7 * * * "/home/jeffry/.acme.sh"/acme.sh --cron --home "/home/jeffry/.acme.sh" > /dev/null
This ensures that the renewal process runs regularly and without manual intervention.
Setting up Let’s Encrypt SSL certificates for Nginx in a Docker environment using acme.sh is an easy process that enhances the security of your web applications. By leveraging acme.sh, you automate the certificate issuance and renewal process, ensuring your sites remain secure without manual intervention. Following the steps outlined in this tutorial, you now have a robust setup where Nginx serves your applications over HTTPS, backed by trusted SSL certificates from Let’s Encrypt. Thank you for following this tutorial. Have a great day!
docker linux nginx tls security

Comments